

Although we know we shouldn’t be picking and popping, there is just something so satisfying about bursting open a juicy pimple. To get the best pimple popping results, it’s wise to always see a Licensed Esthetician to extract pimples appropriately without risk of tissue damage. But sometimes, we just can’t wait and need to pop that pimple stat! As tempting as it may be to pop that pesky pimple (and relieve some of that pain and pressure a blemish may cause), it’s imperative to know when a pimple is ready to be popped. Knowing when a pimple is ready to be popped can prevent the risk of worsening the pimple and causing infection. Knowing when and how to pop can also reduce damage to the skin, such as scarring and pigment changes.
So, is it ever “okay” to pimple pop at home? The short answer is, yes! However, I am going to teach you exactly when it’s the best time to pop!
STEP 1: IDENTIFY WHAT TYPE OF BLEMISH YOU’RE POPPING
There are 3 main types of pimples that can show up on your face and body:
~ Whiteheads (pimples and comedones) are described as small white/yellow raised portions on the skin. Whiteheads occur due to an increased collection of sebum (oil secreted by sebaceous glands) mixed with dead skin cells within a pore and are sealed by the outermost layer of skin. These are the most common pimples you will find on your face, and they can show up anywhere.
~ Blackheads are open pores filled with sebum and dead skin cells. Since the pore is open and not covered by skin, oxidation occurs (thanks to exposure to air!) and causes the sebum to turn black. Blackheads often show up on the nose, chin, and between the eyebrows
~ Pustules are a collection of non-specific white cells, called neutrophils, causing pus to form beneath the skin. This will result in a pus-filled and inflamed lesion on the surface of the skin and can become painful. Believe it or not, the pus is actually a good thing because it is killing bad microbes and preventing further infection. (For this reason, it's a good idea to leave a pimple alone and let your body heal the infected site on its own). Pustules can pop up anywhere, but are more commonly found on the jawline, cheeks, and chin area.
For any pimple, no matter what type it is, the rule of thumb is this: Only pop a pimple when there is a clear and obvious white or black head at the surface of the skin. If there is no obvious head, the pimple is not ready to be popped, so do not proceed with trying to extract it yourself. So just to be clear, if the pimple looks like a bump or a red spot, it is most likely not ready to be popped and there is no reason whatsoever to attempt to speed things along. It is best to wait until the sebum inside has gotten close to the surface of the skin so that it can easily be extracted and cause less damage.
With whiteheads and blackheads, they can be popped fairly easily as they are not as deep in the skin. Pustules are what you need to be most cautious with, however. Do not pop a pustule (cyst) if you cannot clearly see a head or feel a tip forming in the middle. Typically, I suggest that pustules be extracted by a professional as cysts/pustules have the ability to cause the most scarring.
STEP 2: POP ON A CLEAN CANVAS
First, you’re going to want to cleanse your face with either one of our lush and bubbly cleansers, like the Gentle Foamy or Daily Essential Cleanser. Secondly, wash your hands thoroughly in warm, soapy water for at least 30 seconds. Make sure to dry off your hands and face with a clean towel. If you ensure that your face and hands are thoroughly cleansed before popping a pimple, you will reduce the risk of harmful bacteria entering the pimple site and possibly causing further infection. Lastly, use a clean tool to pop your pimple. The best “tools” for popping pimples are 1. Q-Tips 2. Tissues 3. Fingers without long fingernails.
STEP 3: ON YOUR MARK… GET SET … GET POPPING!
Instead of using your fingertips or sharp nails to pop a pimple, my top suggestion is to use two Q-Tips as I mentioned. Q-Tips are soft on the skin, will help control the amount of pressure being applied, and will reduce tissue damage. If you prefer to use tissues, that is also an option. Only use your fingers if you do not have Q Tips or tissues available, and make sure that your nails are not long. Nails are often the culprit for unnecessary scarring or scabbing.
For whiteheads that are ready to be popped, apply gentle pressure on either side of the pimple and press down, inward, and then up (think of the shape of a volcano - you want to push the pus up and out of the skin and not back down into the pore). The pimple may pop from the pressure, and may also drain fluid. If it doesn’t, there is one more technique you can try. You also can try gently poking the pimple with a sterilized needle. This can often allow the pus inside to have an escape route, and can instantly relieve pressure. When using a needle, do not press the needle deeply into the skin. Rather, insert the needle at a slight angle and only scratch the surface of the pimple. Then, apply gentle pressure and watch your pimple release! If the pimple still does not drain, immediately stop and leave the pimple alone; It’s just not ready to be popped yet.
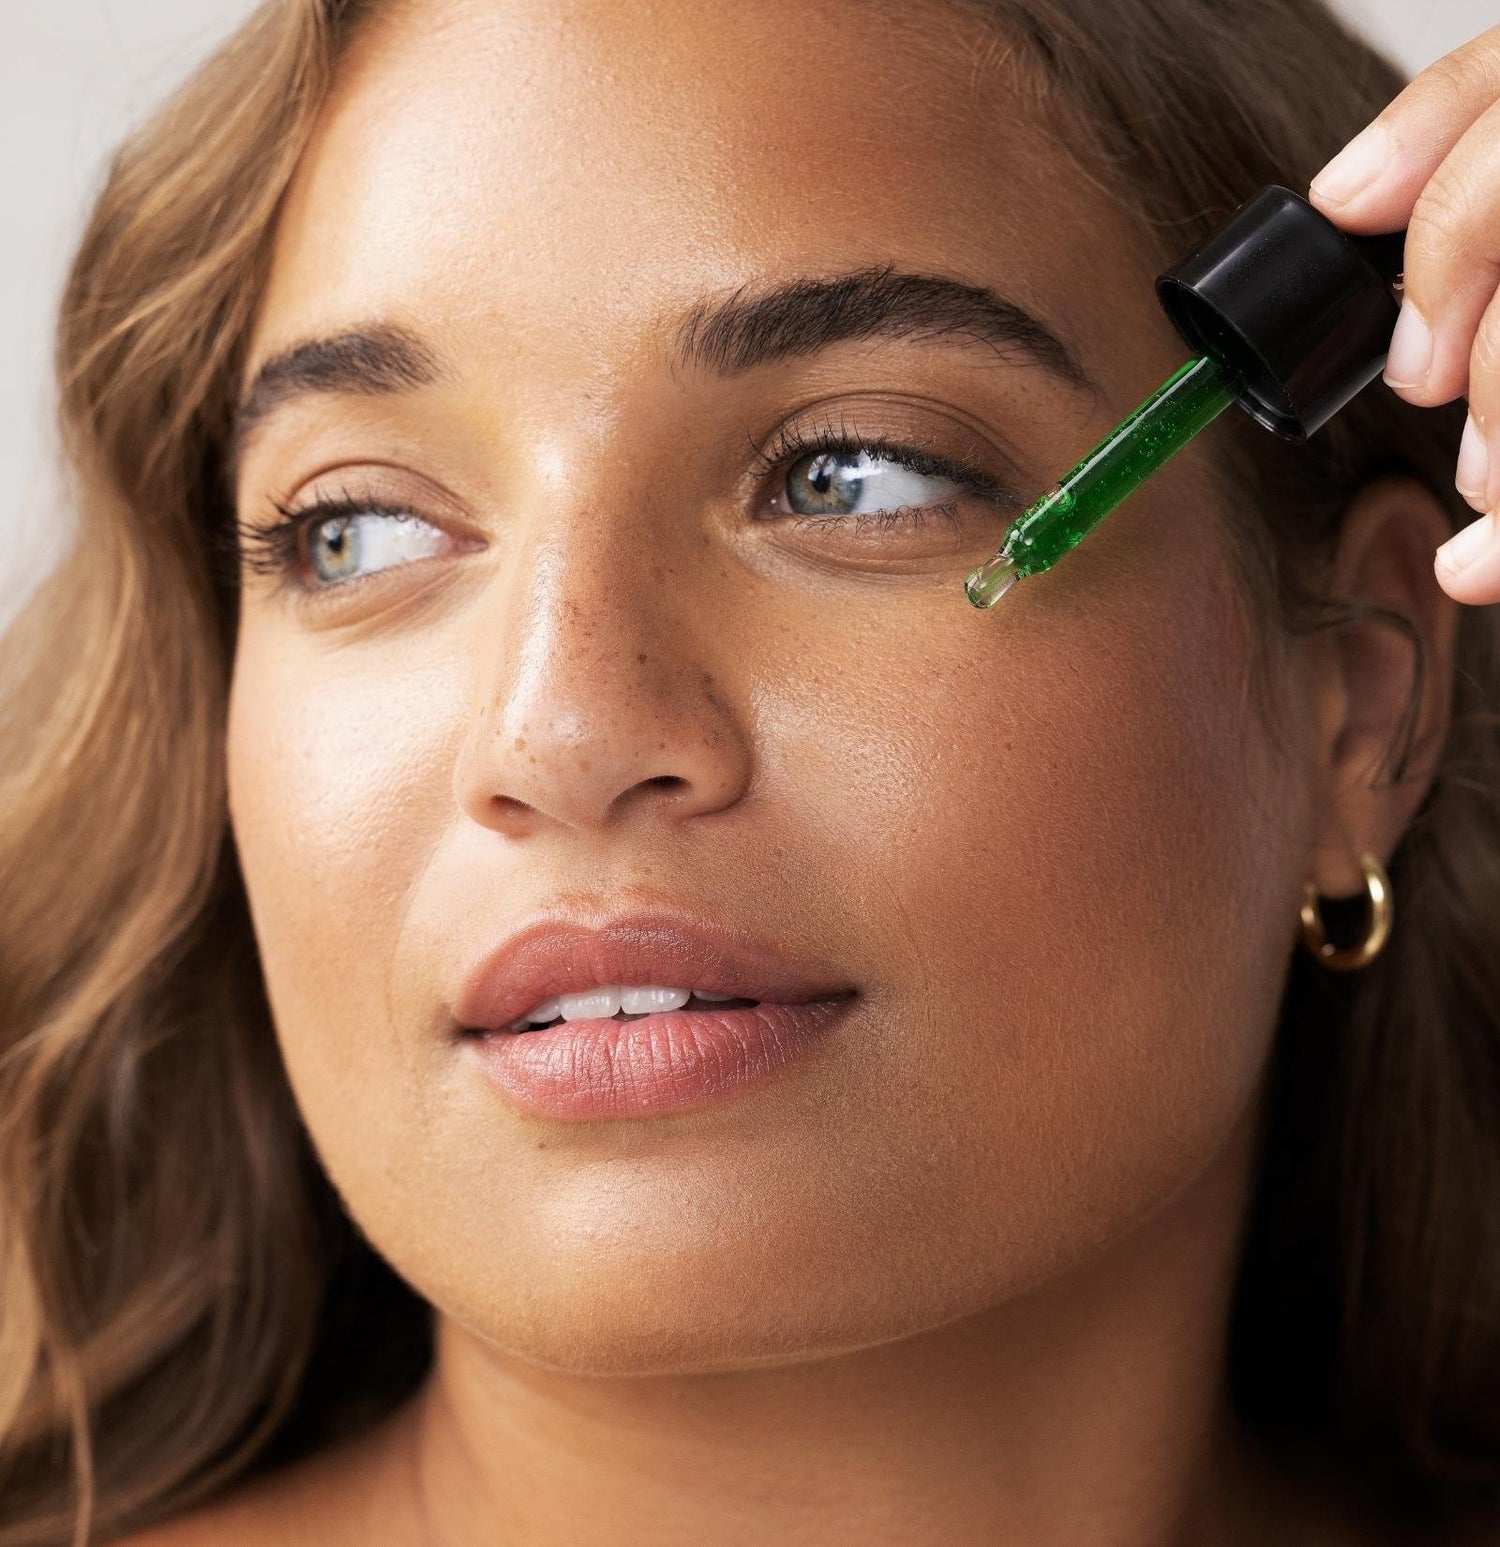
Once you are finished with your popping session, cleanse your face once more, and dry off with a clean towel. Next, apply a toner. If you’re acne prone, our Clarifying Acne Toner formulated with Salicylic Acid will help regularly exfoliate the skin to reduce future breakouts.
For blackheads that you are itching to extract, use two Q-Tips and position them on each side of the blackhead, gently pushing in and then upward. You’ll want to massage the plug with the Q-Tips and use a rocking motion to help loosen the blackhead, freeing it from the open pore. Keep massaging and gently rocking until the core is completely removed. Once fully extracted, make sure your face is thoroughly cleansed and follow up with a toner, like our Peptide Balancing Toner to help clean out any excess dirt and oil from your pores.
Now that you’ve figured out when and how to pop your pimple, let’s go over a few more tips for success!
WHAT TO AVOID:
~ Avoid popping blemishes that are deep beneath the skin or painful to the touch.
~ Avoid popping a blemish that is already scabbed over from previously popping it. Underneath a scab is where your cells are at work healing and forming new skin. Habitually picking and removing these scabs, without allowing them to fully heal, will increase risk of scarring
~ Avoid anything without a clear and obvious head on it.
~ If you’re trying to pop a pimple and it begins bleeding, immediately stop.
TIPS TO ACHIEVING BETTER PIMPLE POPPING RESULTS AND HOW TO REDUCE SCARRING:
~ See a Licensed Esthetician to have pimples and blackheads extracted appropriately.
~ Use two Q-Tips instead of finger nails when popping.
~ Apply a steeped green tea bag as a warm compress onto large cysts. Applying heat will help bring down the inflammation and soothe the affected area.
~ Do not apply too much pressure.
~ Consider popping a pimple after steaming the face or getting out of the shower. Doing so will help relax pores and soften the skin around the blemish.
~ Don’t use a metal pimple popping tool, as it can leave scars and increase the risk of infection, if not sterilized properly.
~ Avoid sun exposure on the face after popping a pimple to reduce the chance of scarring and unwanted pigmentation.
~ Wearing a daily sunscreen on your face will help protect the skin from sun damage, scarring, and unwanted pigmentation.
~ Don’t pick any scabs that are a result of popping. Let them fully heal.
~ Regularly exfoliate the skin with skincare ingredients such as Salicylic Acid, found in our Clarifying Acne Toner, and Retinol 0.25%, found in the Retinol Pads.
These tips & tricks should help you feel more confident the next time you decide to pop that annoying pimple that you’ve been eyeballing all day! I always recommend seeing a Licensed Esthetician to extract blemishes, but if you must do it on your own (trust me, I understand that the urge can be real!), I feel obligated to give you the 411 on all things pimple popping. Ideally, this should help reduce the risk of infection, tissue damage, and scarring! Happy popping!
Sources:
Huizen, Jennifer. “Acne Types in Pictures: Explanations and Treatments.” Www.medicalnewstoday.com, 1 July 2021, www.medicalnewstoday.com/articles/322322#causes. Accessed 23 Feb. 2022.
Palmer, Angela. “How to Pop a Pimple and How to Extract a Blackhead.” Verywell Health, Dotdash Media, Inc., 23 Jan. 2022, www.verywellhealth.com/is-it-ever-ok-to-pop-a-pimple-or-squeeze-a-blackhead-3996549. Accessed 23 Feb. 2022.
Greenwood, Chelsea. “5 Signs That a Pimple Is Ok to Pop.” Insider, Insider Inc., 25 June 2018, www.insider.com/when-to-pop-a-pimple-2018-6. Accessed 23 Feb. 2022.